-
Tostig Godwinson, brother of Harold Godwinson, who contended for the throne, took a fleet of ships and sailed to raid East Anglia and Lincolnshire. He was defeated by the Earls of Mercia and Northumbria, Edwin and Morcar respectively. Tostig retreated to Scotland to refresh his supply of men.
-
The Norman invasions consisted of three main stages: Invasions from the north, originating from Norway, invasions from the south, originating from the European mainland, and internal resistances to the following rulers. The conflict was instigated by a lack of rightful heir to the English throne. It resulted in a bloody war and the francophonization of English politics and language. The buildup to the conflict began more than a century before the invasions actually occurred (as early as 911).
-
Harold Godwinson had long expected William II of Normandy to invade the southern coast of England. However, he grew tired of waiting and eventually decided to dismiss the forces he had gathered. A standing army required considerable funding.
-
From Norway came the fleets of Harald Hardrada. His ships numbered around 300 and carried up to 15,000 men. Along with the forces of Tostig, the ships and infantry marched toward York, earning their first victory over Edwin and Morcar in the Battle of Fulford.
Find the original image here -
The Norwegians marched to York, which surrendered upon arrival. They also manned the nearby settlement of Stamford Bridge.
-
Harold heard of Hardrada's cooperative invasion with Tostig in the north and rushed to the scene with fresh forces. At dawn, the English forces stormed Stamford Bridge and York, taking the Norwegians by surprise. Tostig and Harald Hardrada were killed in the ensuing battle, and the Norwegian forces retreated homeward. Though a stunning victory for the English, both sides were battered and weary afterward.
Find the original image here -
William II of Normandy assembled a large military force consisting of men from Brittany, Flanders, and Normandy. Around the time that the Battle of Stamford Bridge was taking place, the Normans set sail across the English channel and shortly thereafter arrived on the island's southern coast in Pevensey, Sussex. The forces quickly set up a castle hold in the nearby Hastings.
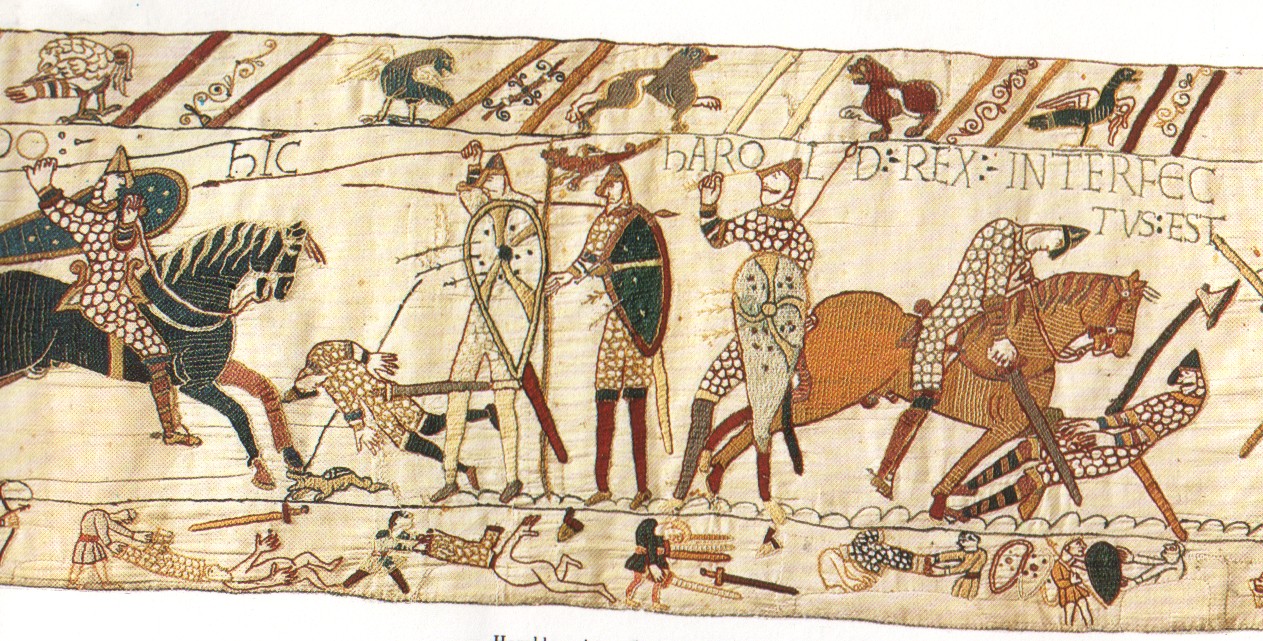
Find the original image [here]https://en.wikipedia.org/wiki/(File:BayeuxTapestryScene39.jpg) -
After William had taken time to fortify his position and Harold had gathered forces from East Sussex, the two armies clashed in the infamous Battle of Hastings. However, William's cavalry quickly outflanked the English archers and footmen. Several feigned retreats by the Normans bode the English to push the attack only to gain more and more casualties. Harold was killed in the battle (see image).
Find the original image here -
Instead of surrendering power after the Battle of Hastings, the surviving English leaders crowned Edgar the Ætheling the rightful King of England.
-
After several failed counterattacks and the forces of William creeping ever closer to the city of London, the English elites finally surrendered the crown to him at Berkhamsted, ending the ineffective reign of Edgar. He was crowned in Westminster Abbey (see image). However, William traveled back to France soon after and left control of England in the hands of his brother, Odo of Bayeux.
Find the original image here -
Two main English resistance groups formed in 1067. They were based in Kent and western Mercia. Their limited success prompted William's return near the end of the year.
-
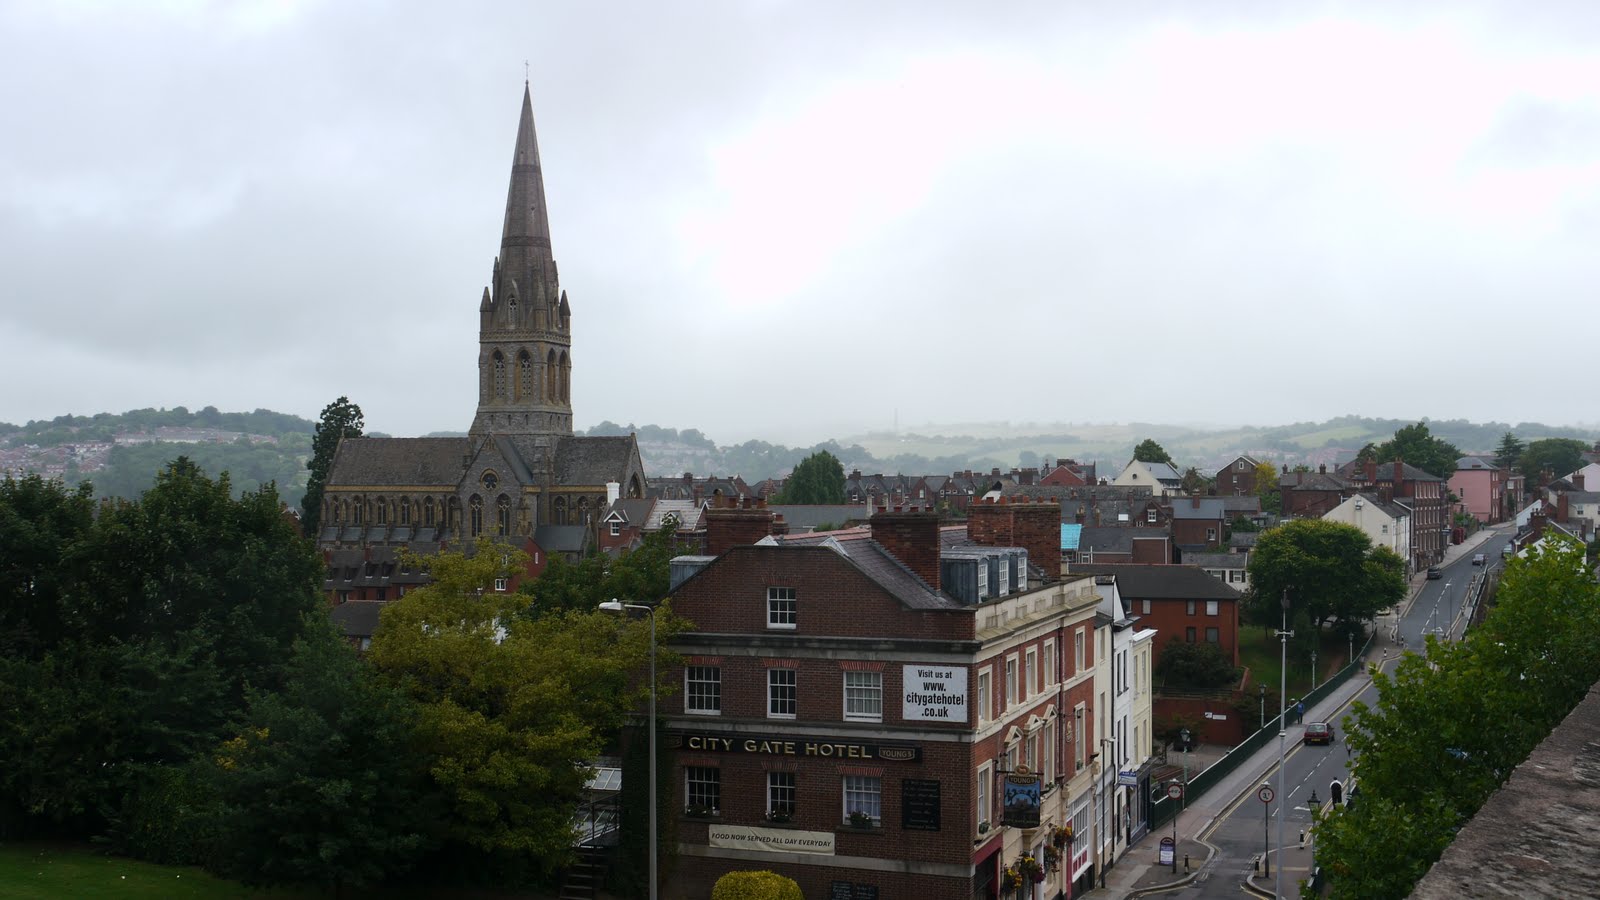
William sent combined forces of Normans and loyal Englishmen to fight rebellious militiamen holed up near the town of Exeter. The resistance was backed by the Godwin family. After a siege lasting 18 days, the city surrendered, Rougemont Castle (see image) was built, and the rebels were punished.
Find the original image here -
After several failed revolts, rebels were reinvigorated when the Danish fleet of Sweyn II arrived and joined a prominent Northumbrian resistance group. After a string of defeats, the Danes pulled out, leaving the Northumbrians easily defeated. William resumed complete control in December of 1069.
-
In 1070, Sweyn II himself accompanied his fleet on a return mission to England. He convened with the leader of a new rebellion based on the Isle of Ely, Hereward the Wake. Scottish forces as well as English forces led by Morcar of Northumbria joined the rebellion. After the Normans caught wind of this rebellion, it was quickly crushed. Morcar was imprisoned for life, Hereward was pardoned, and Sweyn II retreated to Denmark.
-
After maintaining sovereignty over both his mainland and island holds, William marched north to combat the forces of King Malcolm III of Scotland. The conflict was brief and ended with the Treaty of Abernethy, which granted William control over virtually all of Scotland.
-
During William's absence in England, the Earls of Norfolk and Hereford, Ralph de Gael and Roger de Breteuil, respectively, launched a revolt. The rebellion was born at a wedding between the families of the two earls at Exning. The Danes and Earl Waltheof also involved themselves, but the revolt was quickly subdued, even with William in mainland France. This marked the long yet temporary defeat of England by the Normans.


)
Looking for a timeline maker?
Create timelines for projects, roadmaps, history, lessons, legal cases, and stories with Timetoast. Timetoast is a timeline maker for work, school, research, and stories.